Showing posts with label raw. Show all posts

Tuesday, December 11, 2012

Raw German Chocolate Fudge


German chocolate + fudge = best idea ever. I wasn't specifically going for german chocolate but I'm not complaining that I ended up where I did. This does require a bit of prep and refrigerator wait time. The end result is amazing, though, so I recommend being patient! This recipe makes around 12 small fudge pieces depending on your pan size.

Fudge 
 Ingredients:
2 c. dry cashews, soaked for at least 2 hours
1/2 c. cocoa powder
1/4 c. coconut oil, liquified
1/4 c. dates, pitted
1/4 c. liquid sweetener (I used maple syrup)
1/2 tsp. vanilla extract
pinch of salt

Instructions:
- Place all ingredients in food processor and blend until smooth, scraping the sides down every minute or so. Also, feel free to add your liquid sweetener in slowly and taste as you go. I like a richer fudge taste but everyone has different preferences!
- Place parchment paper in a pan of any size. The smaller you go, the thicker your fudge will be. I chose an odd shaped pan that I have that's slightly larger than a bread loaf pan.
- Spoon thick mixture into pan. It will be hard to spread at this point. Spread as much as you can and pop mixture into freezer.


 - Place used food processor to the side. Do not wash it just yet!


German Chocolate Topping
Ingredients:
1/2 c. liquid sweetener (I, again, used maple syrup)
1/4 c. coconut oil, liquified
1/4 c. cocoa powder
1/2 c. walnuts or pecans (I used a mixture of both)

Instructions:
- Using the same food processor you just used, place all ingredients inside. Having a little bit of the leftover fudge inside your bowl is a good thing!
- Blend until mixture is just mixed and nuts are just barely broken down. This should only take a few seconds.


 - Take your fudge out of the freezer. This should have hardened up slightly and will be much easier to spread. Use your hands or a clean spatula and spread it out evenly and smoothly.
- Spoon your topping onto your fudge and smooth this out as well.


 - Pop into the freezer for at least 30 minutes then in the refrigerator for at least an hour until eaten. This is actually best after sitting chilled overnight, but I suppose an hour will do if you just can't wait!


This recipe is nice because it's easy to play around with. Next time, I may try adding an avocado or two and making a thicker fudge. I didn't want to add in shredded coconut to the topping because of all the coconut oil but feel free to do so if you don't mind all that coconut! This fudge is also very decadent so eat slowly and enjoy every bite.

I'm actually eating a piece as I type this. Mmm.


Friday, September 7, 2012

Raw Strawberry Cream Pie


When strawberries go on sale for $0.99/carton, I can't help myself but to buy some! That is normally how my cooking and baking go... I find fruits or vegetables that are on sale or that just look really delicious there in the store, bring them home, and experiment away. It seems to work for me!

This pie is awesome. There is some prep work involved before you start anything. Make sure you soak your cashews and dates in cold water for at least 2 hours (I used the same bowl for this). You'll also want to dice your strawberries and freeze them. You can buy frozen but they probably won't taste as pleasant. 

Crust 
Ingredients:
1 c. raw almonds
1/2 c. raw walnuts
1/2 c. unsweetened shredded coconut
2 tbsp. raw coconut nectar (or any liquid sweetener)
1 tbsp. coconut oil, melted (plus about a tsp. more for the pie pan)

Instructions:
- Using your fingers or a pastry brush, spread a little bit of melted coconut oil on the bottom and sides of your pie pan.
- Place all ingredients into food processor. Blend this until it becomes a crumbly mixture.
- Push crust mixture into pie pan. It won't be the same consistency as a regular pie crust -- you'll want to press it in and up the sides to form the crust.


- Pop the crust in the freezer while you prepare your pie filling.

Pie
Ingredients:
2 1/2 c. strawberries, frozen
1 1/2 c. cashews, soaked
3 large dates, soaked and pitted
1/4 c. melted coconut oil
1 tbsp. raw coconut nectar (or other liquid sweetener)
1 tsp. vanilla extract
pinch of salt

Instructions:
- Place all ingredients into food processor. Let this run for a few minutes, scraping down the sides every minute or so. You'll want this to be perfectly creamy so be patient!


- Spread pie mixture into your prepared pie pan and top with fresh strawberries.


- Pop in freezer for at least an hour then keep stored in the refrigerator.


Holy crap, this pie was awesome! It has the consistency of a mix between a pudding pie and a cheesecake. The strawberry flavor is so strong and so amazing that it hardly needs any sweetener! The crust turned out a bit more crumbly than I thought it would and I would probably add 1 tbsp. extra of coconut oil next time. Otherwise, this was perfection in a pie pan!

Tuesday, February 28, 2012

Raw Mini "Cheesecakes"


Michael and I got some new toys with our wedding shower gift cards...


We haven't busted out the new juicer yet but I wasted no time on the food processor. My old one didn't get every little grain pulverized like food processors should. The thing was free, though, and I never complained. We got a new one that comes with a mini bowl (which I can't wait to use!!). After making these mini cheesecakes, I am so happy that I chose this food processor. It's awesome! Anyway, on to the food. This recipe makes around 12-15 mini cheesecakes, or 1 whole pie. I recommend making the filling first and then the crust. I'll explain below.

Ingredients for pie filling:
2 c. dry cashews, soaked for at least 2 hours
1 zucchini, shredded and de-seeded (yes, a zucchini!)
1 lemon, juiced and zested (is "zested" a word?)
1 tbsp. pure vanilla extract
3/4 . coconut oil, liquified
1 scoop pure stevia*

*This isn't technically raw but is still an awesome product. I high recommend this stuff, however, feel free to use any liquid sweetener if you prefer. Make sure to cut back on your coconut oil or up your zucchini or cashews if you go the liquid route.

Ingredients for crust:
1 1/4 c. raw almonds
1/4 c. raw pecans
2 tbsp. shredded unsweetened coconut
1 tbsp. water
1 tsp. raw coconut nectar (or any other liquid sweetener of your choice)

Instructions:
- Blend all of your filling ingredients in your food processor until it is very creamy. This will take quite a few minutes and a lot of wiping the sides down. Be patient!


- Place your filling into a bowl. Set aside. Don't clean out food processor!


- Place crust ingredients into your food processor, with the leftover filling, and blend until it becomes crumbly. The reason I do it this way is because having a bit of the filling in the crust makes for a very delicious cheesecake. The crust also holds up better this way.

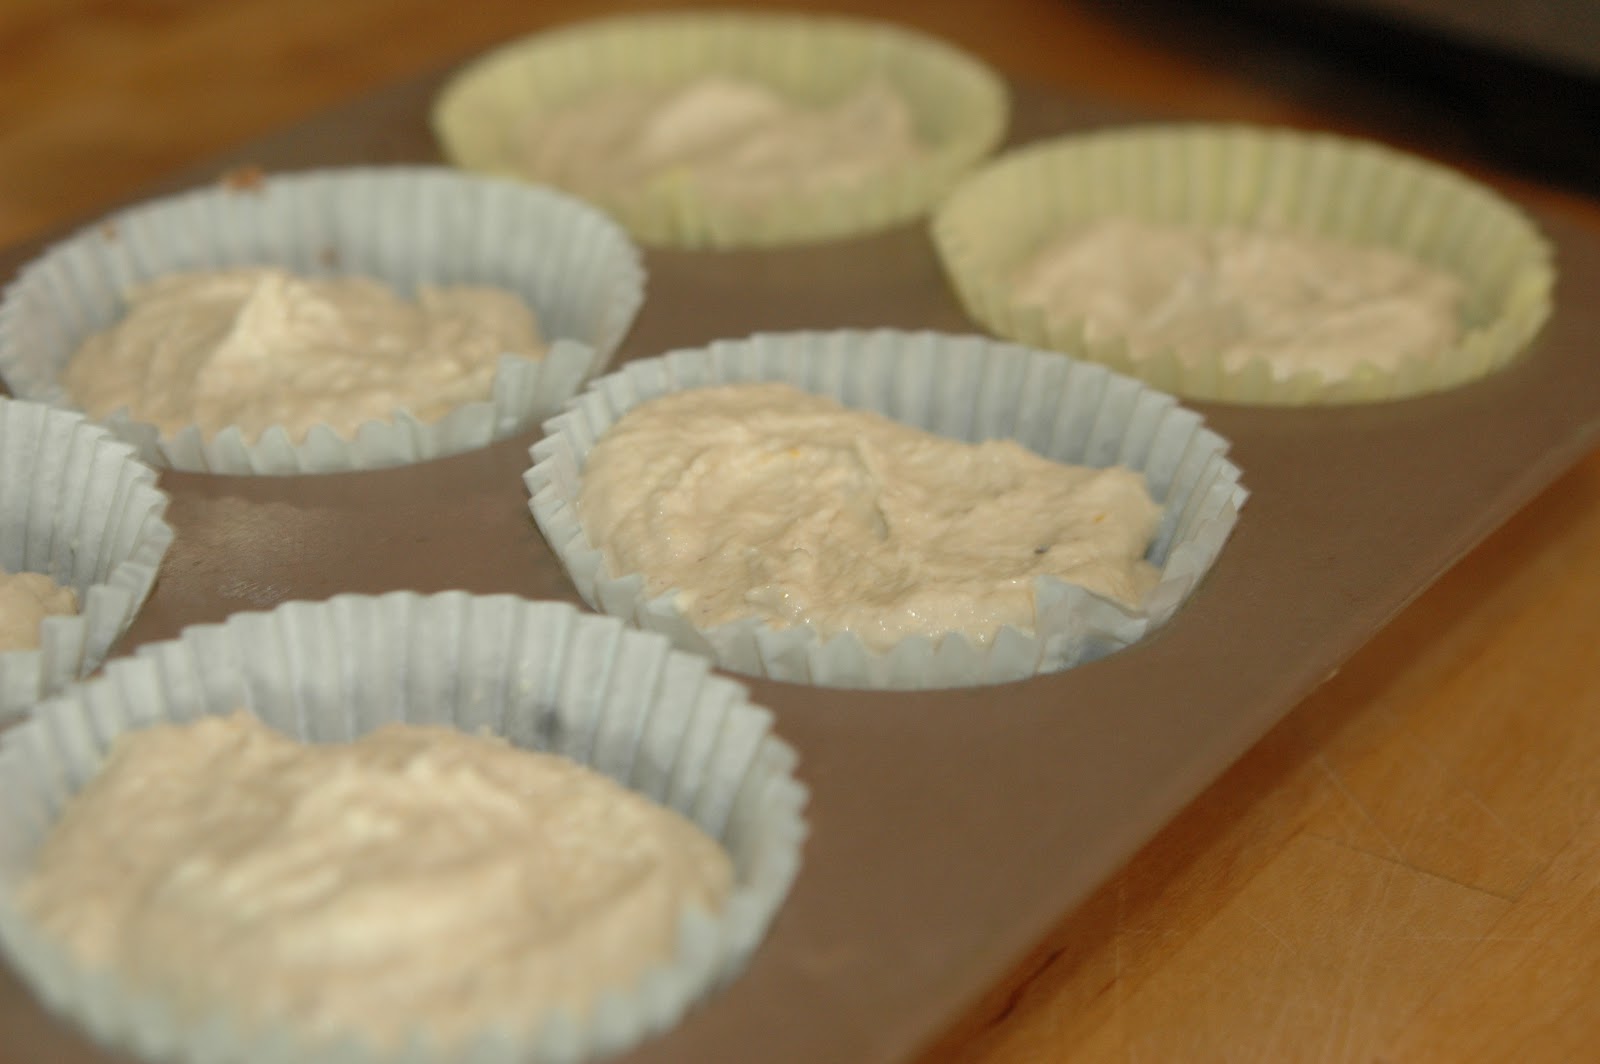
- Ball up some of the crust and pat down into lined muffin tins. I actually used a tiny bit more than what is pictured. You'll probably have a little bit of leftover crust.


- Spoon your filling into each muffin tin.


- Place into your freezer for at least 30 minutes and then your refrigerator until your ready to eat. Peel away the liners and top with whatever you choose. I actually whipped up a mixture of blackberries, blueberries, coconut nectar, and lemon juice.


This was just so...


... so good. Seriously, this is the best version of a raw "cheesecake" I think I have ever made. There were no bits of cashews like in my previous versions which made for a super creamy filling. The crust was the perfect texture and taste and the topping just made it all come together perfectly. I might add a bit more lemon juice next time, but of course I can never keep recipes the way they were the first (or second) time :)

Wednesday, November 16, 2011

Chocolate Pudding Pie w/Coconut Cream Topping

I posted this recipe a couple weeks ago and decided that I wanted to make it again. I've been seeing this coconut cream topping all over the vegan community and knew I had to top this delicious pie with it. Because of the coconut cream topping, I wanted to minimize the coconut oil in the actual pie. The recipe is a tiny bit different but has the same flavor and texture as the one previously posted. This isn't a purely raw recipe because of the coconut cream, but the pie is!


Coconut Cream Topping

Ingredients:
1 can full fat coconut milk (mine was 14 oz.), refrigerated overnight
2-3 tsp. pure vanilla extract
1-3 tsp. raw agave nectar

Instructions:
- After refrigerating your coconut cream, DO NOT SHAKE! Open the can and scoop off the top 75%. It should be really thick. There will be a bit of thin coconut water at the bottom. Keep this excess water for whatever (Michael put some in a milkshake for me!).


- Using a fork or whisk, mix coconut cream, vanilla extract, and agave in a bowl. I didn't put a specific amount of vanilla and agave because everyone's tastes vary. Just taste and keep adding.


- That's it! Easy, right? Keep refrigerated until you're done making your pie.

Raw Chocolate Pudding Pie


Ingredients for crust:
1 c. raw pecans
1 c. raw walnuts
1/4 c. raw almonds
1/4 c. raw agave nectar
1 tbsp. water
dash cinnamon
flaxseed meal

Instructions for crust:
- Place all ingredients, except flaxseed meal, into your food processor and blend until mixture becomes a little sticky and crumbly.
- Sprinkle a little bit of flaxseed meal onto your pie pan and then press your crust mixture into your pan, pressing up the sides.


- Pop into the freezer while you prepare your filling.

Ingredients for pie:
1/2 c. (dry) cashews, soaked for 2 hours
1/2 c. (dry) raisins, soaked for 2 hours (feel free to use dates if you have them)
4 ripe avocados
1 ripe banana
1/2 c. cocoa powder
1/4 c. coconut oil, liquified
1/4 c. raw agave nectar
2 tsp. pure vanilla extract

Instructions:
- Once again, whip up all ingredients in your food processor until mixture becomes creamy. This will take a few minutes so be patient!
- Spread into your prepared pie crust.


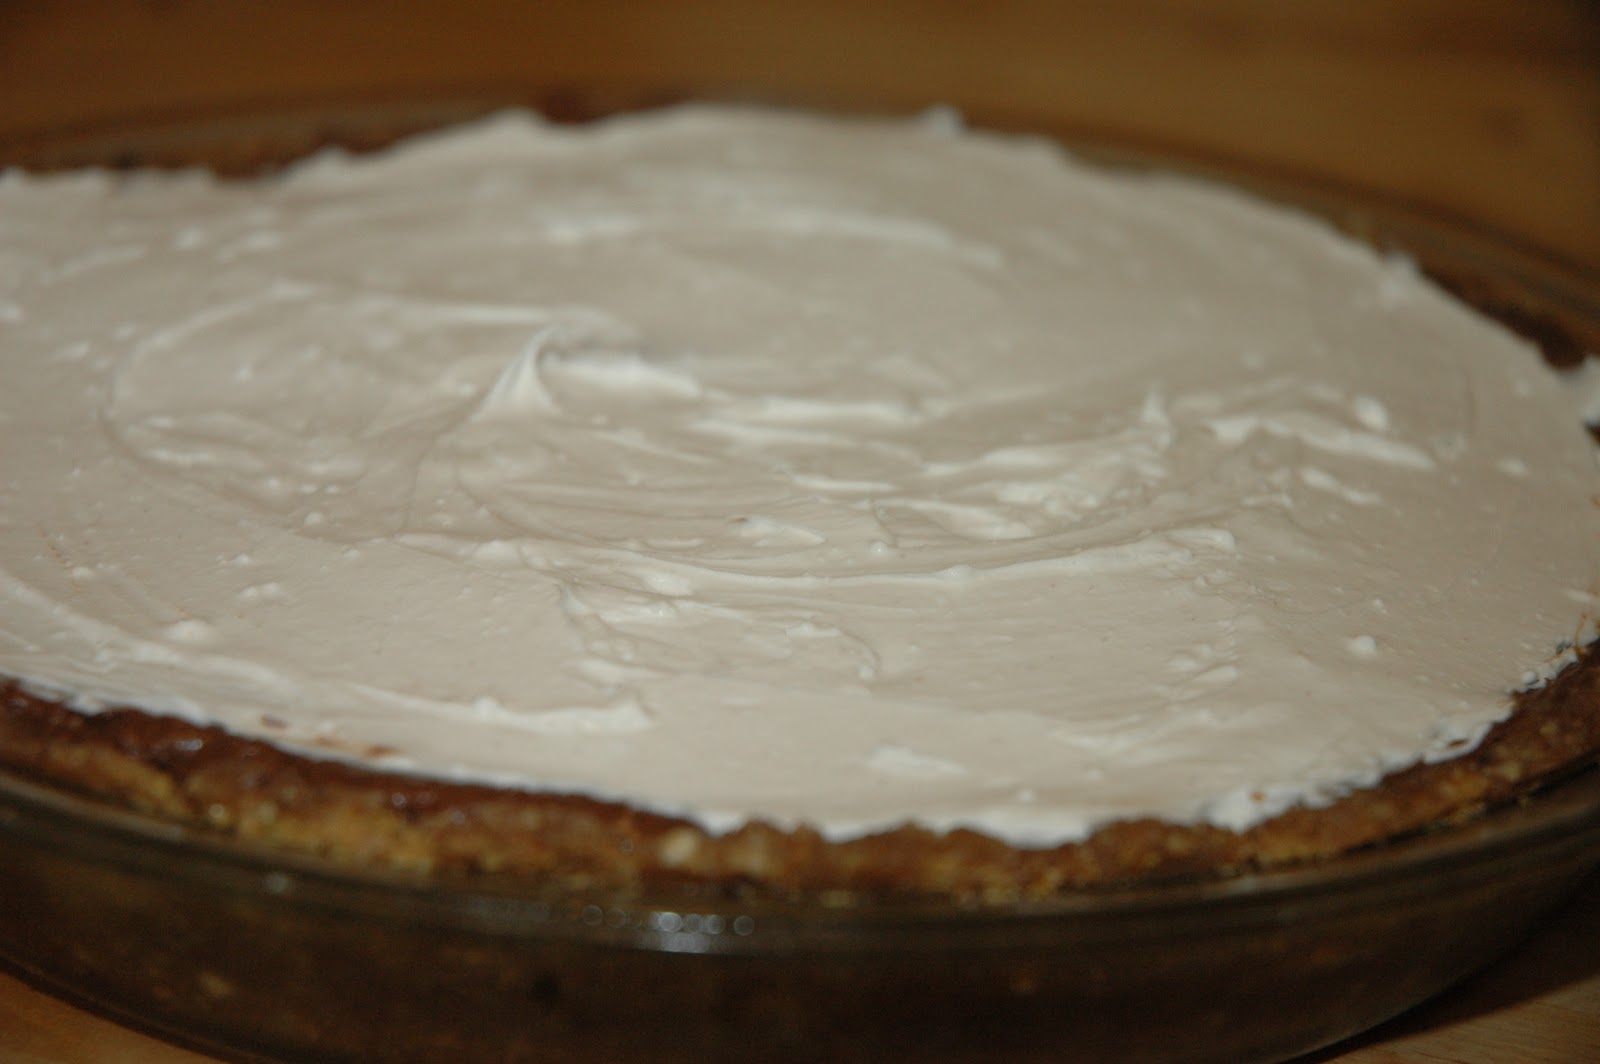
- Freeze for an hour and then spread your coconut cream on top. You may want to mix up the coconut topping a little to make spreading easier.


- Refrigerate until you're ready to eat!


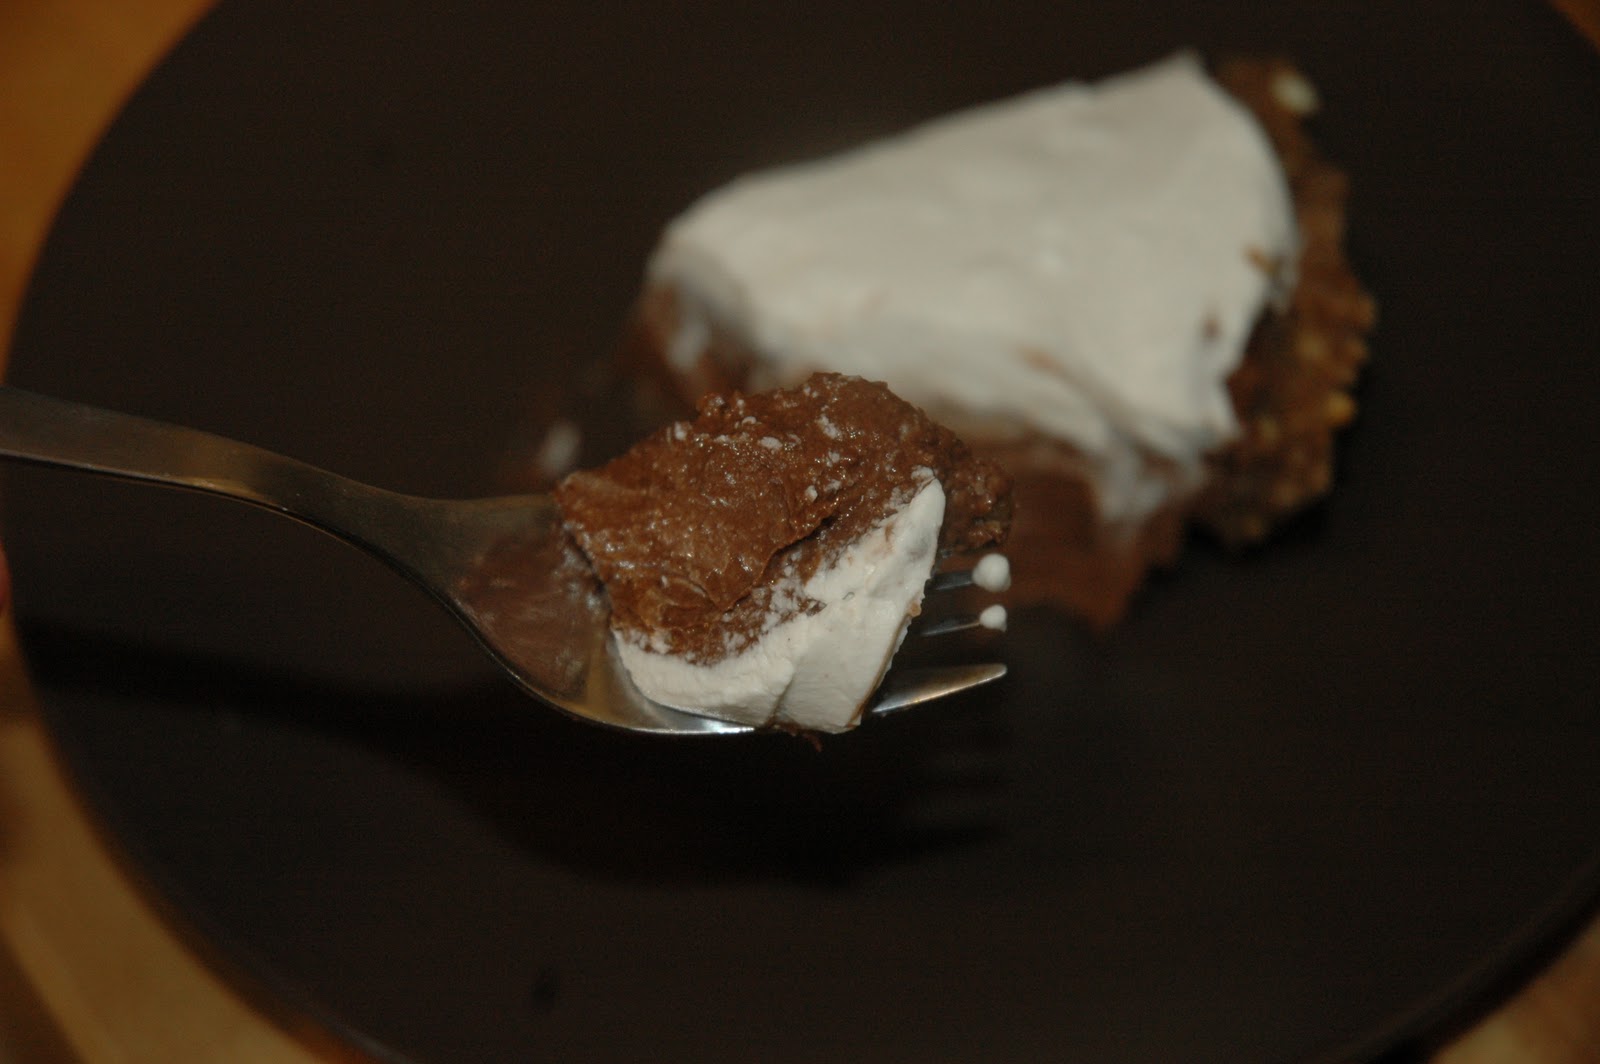
This is one of the easiest desserts I've ever made and definitely one of the tastiest. Every aspect of this is SO GOOD! I noticed that the pie has a fairly strong banana flavor right after it's made, but the longer it sits in the refrigerator the longer all the flavors incorporate. The coconut cream topping has a wonderful subtle flavor but just makes this pie complete.

In other news, Michael and I just made our wedding rings! That's right, we MADE them. Well, I made his and he made mine. It was such a fun and unique experience. Making our rings makes them all that more special, right? July 14th is coming up so soon! We can't wait :)

Thursday, October 27, 2011

Raw Chocolate Pudding Pie

Chocolate pudding pie is one of my favorite desserts. However, since I am not eating sweets except during the holidays right now, I had to find a way around this. What about avocados? They're creamy and mild in flavor and would surely work. I knew I had to try this out.


Ingredients...
For crust:
1 c. almonds, soaked 1 hour
3/4 c. pecans
1/2 c. raisins
1 tbsp. water
dash cinnamon
flaxseed meal

For filling:
4 ripe avocados
1 ripe banana
1/2 c. coconut oil, liquified
1/2 c. cocoa powder
1/4 c. raw agave (or more, if you prefer a sweeter pie. Also, feel free to use a different sweetener if you wish)
1 tsp. pure vanilla extract
1/2 tsp. pure almond extract

Instructions:
- Using your food processor, blend all crust ingredients until it becomes a sticky cohesive ball.
- Sprinkle flaxseed meal into a pie pan to keep crust from sticking.
- Spread out pie crust into your pie pan, making sure to push up the sides. I find that using wet hands makes this job a bit easier.
- Pop crust into freezer while you prepare your filling.


- Place all filling ingredients into your food processor and let run until it becomes very creamy. This will take a few minutes. Taste and adjust sweetener as you blend.


- Spread your pie filling into your prepared crust.


- Freeze for 30 minutes and then refrigerate for at least 30 minutes or until ready to serve.


- Top with cashew cream if you'd like.


I can't even begin to describe what I feel for this dessert. It is so rich, creamy, and silky smooth -- just as a chocolate pudding pie should be. If you don't have access to coconut oil or would prefer not to use it, I recommend adding another avocado or banana and serving it up as just plain ol' pudding.

Thursday, September 22, 2011

Raw Pumpkin Cheesecake

Even though I live in San Diego, I can still feel fall being right around the corner. The days become shorter, the sky darker, and the nights colder. Don't get me wrong, I love San Diego summers, but the fall here is just comforting and wonderful. While it's definitely not Ohio fall weather, it's close enough. There is one thing that is always constant with the feeling of fall no matter where you are -- pumpkin! I decided to use up some leftover pumpkin I had in this raw cheesecake. I can't wait to start experimenting with other pumpkin recipes during this lovely time of the year!


Crust Ingredients:
1 c. dates, soaked in water for an hour
1/2 c. pecans
1 c. almonds
flaxseed meal

Crust Instructions:
- Toss all ingredients into your food processor. Let run for a few minutes, scraping down the sides every so often. You know it's ready when it's a big ball of stickiness.
- Sprinkle some flaxseed meal into the bottom of a pie pan. This keeps your crust from sticking.
- Spread out your crust into your flax-coated pie pan.


- Refrigerate until your cheesecake mixture is ready.

Cheesecake Ingredients:
3 c. raw cashews, soaked for 2 hours
1 c. pureed pumpkin
1/2 c. raw agave nectar
1/2 c. coconut oil, liquified
1 tsp. vanilla extract
dash of cinnamon, nutmeg, and cloves

Cheesecake Instructions:
- Blend all ingredients into your food processor until it becomes smooth and creamy.
- Spread into your pie crust.


- Freeze your cheesecake for at least 30 minutes then pop into the refrigerator until ready to eat (although if you're ready to eat it right away, like me, I suggest waiting about 10 minutes just to make sure it sets completely).
- Eat up!!


Ohmygosh this was just perfect in every way. Since I used so many cashews and so much pumpkin, it was definitely a very heavy cheesecake. That definitely didn't stop Michael and I from devouring it, though...


I can't stress enough how tasty this was. It had just the right amount of pumpkin to overpower the taste of the coconut oil. It was so silky smooth and every bite just melted away. I can't wait to try making a raw pumpkin pie next time... maybe with a lot less cashews and a lot more pumpkin. My mouth is watering just thinking about it!

Thursday, September 1, 2011

Raw Tiramisu


I know I've been lacking variety on my blog to my new obsession in raw "baked" goods. I hope everyone is ok with it, though, because here's a new one! If you know me at all, you know that tiramisu is my favorite dessert ever (ok, except for maybe cashew cardamom cake from Inn Season). I found this recipe and knew what my next experment would be. I used my recipe for cashew cream but doubled it and added a dash of almond extract and 1 tsp. coconut oil. I changed the raw tiramisu recipe (linked above) just a tad bit. This is time consuming to make but totally worth it.

Ingredients (cake layer):
1 c. dates, soaked in 1 c. water
2 c. cashews, soaked
1 tbsp. raw agave nectar
2 tbsp. cocoa powder
4 tsp. ground coffee
2 tsp. vanilla extract
2 tsp. almond extract
1/4 c. + 1 tbsp. coconut oil, liquified

Instructions:
- Start soaking both batches of cashews (one for the cake and one for the cream) and also your dates. I used all separate containers to make it easier on me.


- After a couple hours of soaking, whip up your cashew cream. Set in the refrigerator until you are ready to layer it.


- Place all ingredients for your cake in your food processor. Let run until smooth and creamy.
- Using a wet rubber spatula, smooth our your cake layer into a small pan, casserole dish, etc. Use whatever you have handy.


- Smooth out a layer of your cashew cream on top of your cake layer.


- Pop this into the freezer for 15 minutes or until your cashew cream slightly hardens.
- Smooth out another layer of cake then cashew cream. Freeze for 15 minutes and then smooth another layer of cake then cream on. You'll want to make sure to make thin layers -- the more layers you have, the prettier it looks! Also make sure you freeze in between layers. This will make the job much easier.
- Dust a little cocoa powder on top and refrigerate until time to eat!


Michael said this is his favorite of all the raw desserts I've made. It is definitely yummy! I wish the cake layer was more solid but it would've been much harder to smooth layers on if it was. This raw tiramisu is so creamy, full of coffee and cocoa flavor, and definitely FILLING! This tiramisu has A LOT of cashews so make sure you don't eat too much in one sitting! I am already looking forward to eating some more of this bad boy. If you like tiramisu in the last bit, I highly recommend you make this. Right now.

Saturday, August 20, 2011

Raw Peanut Butter "Cheesecake"

I don't think I can stress enough how much I love raw desserts. I especially love raw "cheesecakes" and I knew I wanted to incorporate peanut butter somehow. The peanut butter I used is made with roasted peanuts, thus making it technically not a raw "cheesecake". If you want, use raw peanut butter!


Crust Ingredients:
(I wrote this down somewhere but I can't find it. These measurements are guesses)
1 c. almond meal
1/2 c. pecans
1/2 c. dates
2 tbsp. water

Crust Instructions:
- Put all your ingredients into your food processor and let run into mixture is sticky and blended.
- Using your fingertips, press into a pie pan.
- Freeze while you prepare your pie mixture.


Cheesecake Ingredients:
3 c. soaked raw cashews (I let mine soak for 2 hours)
1/2 c. pitted dates
1/2 c. fresh squeezed lemon juice
3/4 c. raw agave nectar
3/4 c. coconut oil, liquified
1 tsp. pure vanilla extract
1/2 tsp. pure almond extract
1/4-1/2 c. natural peanut butter, slightly melted (I did this by placing a measuring cup of peanut butter in a bowl of hot water)


Cheesecake instructions:
- Blend all ingredients except peanut butter in your food processor. Occasionally stop it to wipe the sides down and continue to let it run for 5 minutes or until completely blended and smooth. Make sure your dates aren't too chunky!


- Smooth into your prepared crust.
- Freeze for 10 minutes while your peanut butter softens a bit.


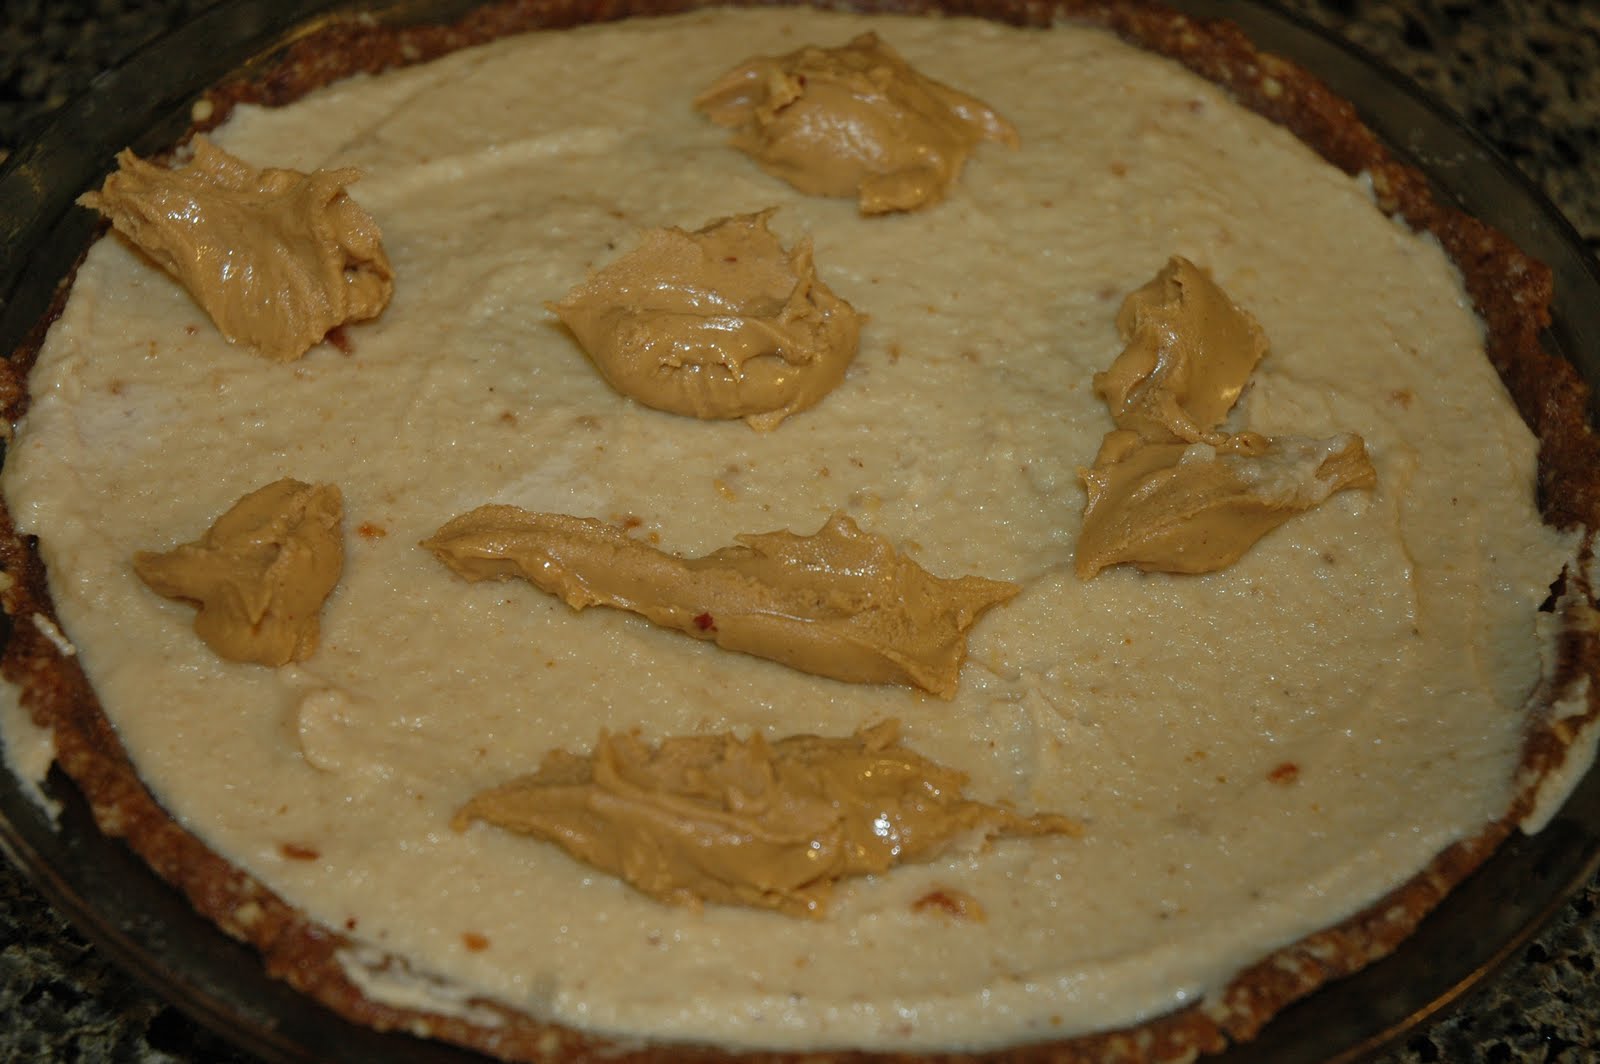
- Spoon your peanut butter onto your cheesecake and sort of cut into it using a knife.


- I tried to get a swirling effect.


- Freeze for 30 minutes and then transfer to your refrigerator. Leave chilled for at least 30 minutes or until ready to eat.


I love that I put that peanut butter in last. Sometimes there would be bites with a lot of peanut butter flavor and others that weren't so overpowering in flavor. That gave it a nice flavor -- finding the surprise bites of peanut butter was fun and delicious! I also want to mention that this was GOOD. Ok, it was better than good. Seriously. I ate almost the whole thing by myself in the course of a week. I am not ashamed of this.