Showing posts with label bread. Show all posts

Friday, May 27, 2011

Oatmeal Bread

I wish I didn't love bread so much. Eating bread has endless possibilities -- use as mini pizza dough, sandwiches, buns for veggie burgers, toast, grind to use as bread crumbs, dip in hummus, etc. Ever since I got a bread maker I hardly ever buy bread. I know I don't really make bread since I use a bread maker, but it is still satisfying to cut into and eat a freshly baked loaf.


Bread is the one thing I really have a hard time making up myself. I haven't figured out the right amount of flour, yeast, sugar, salt, and oil to make up my own recipe, but I am sure I'll do it one day. I found this recipe on Vegweb and, with some of the commenters suggestions, tweaked it just a tiny bit. The changes I made are in regards to the water and flour --  1 c. + 2 tbsp. warm water and 2 c. whole wheat flour mixed with 1 tbsp. vital wheat gluten. 


I think the end result turned out quite nice!


Luckily my bread maker makes small loaves so I don't feel compelled to eat a lot! Because, you know, if there's food here I might as well eat it and eat it quickly...

Wednesday, May 25, 2011

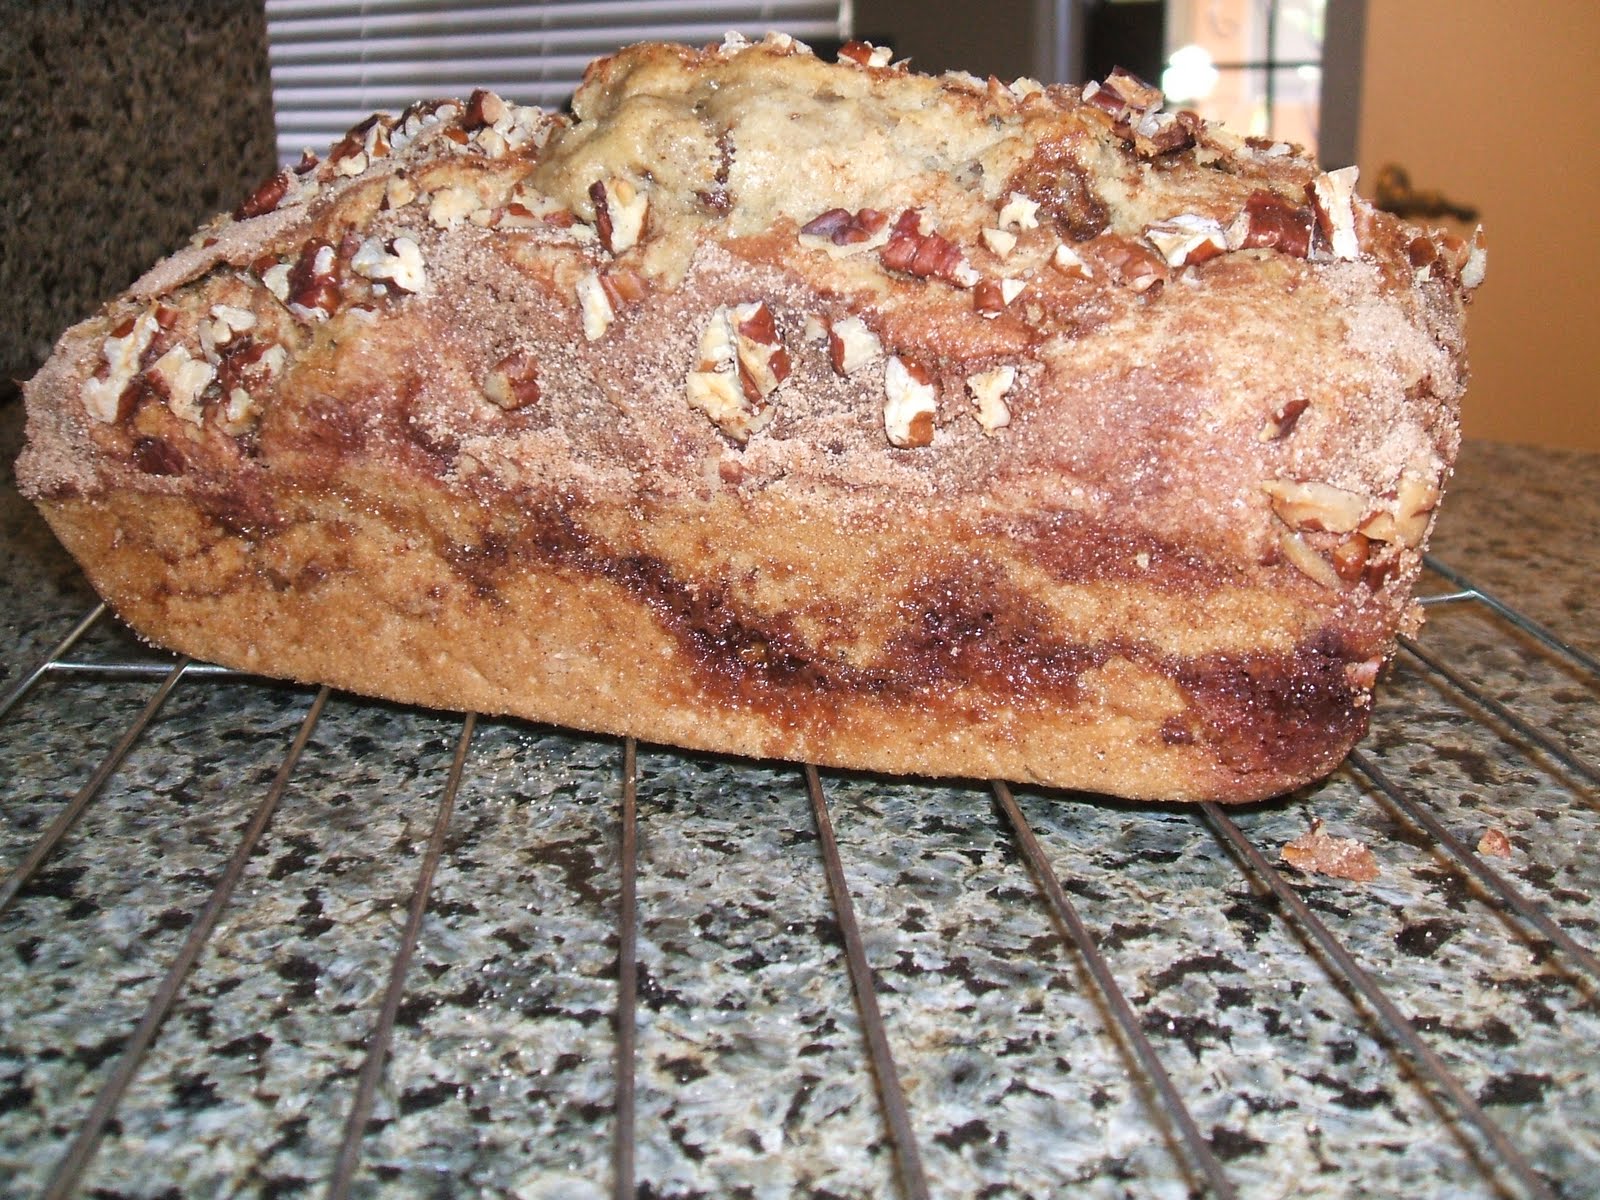
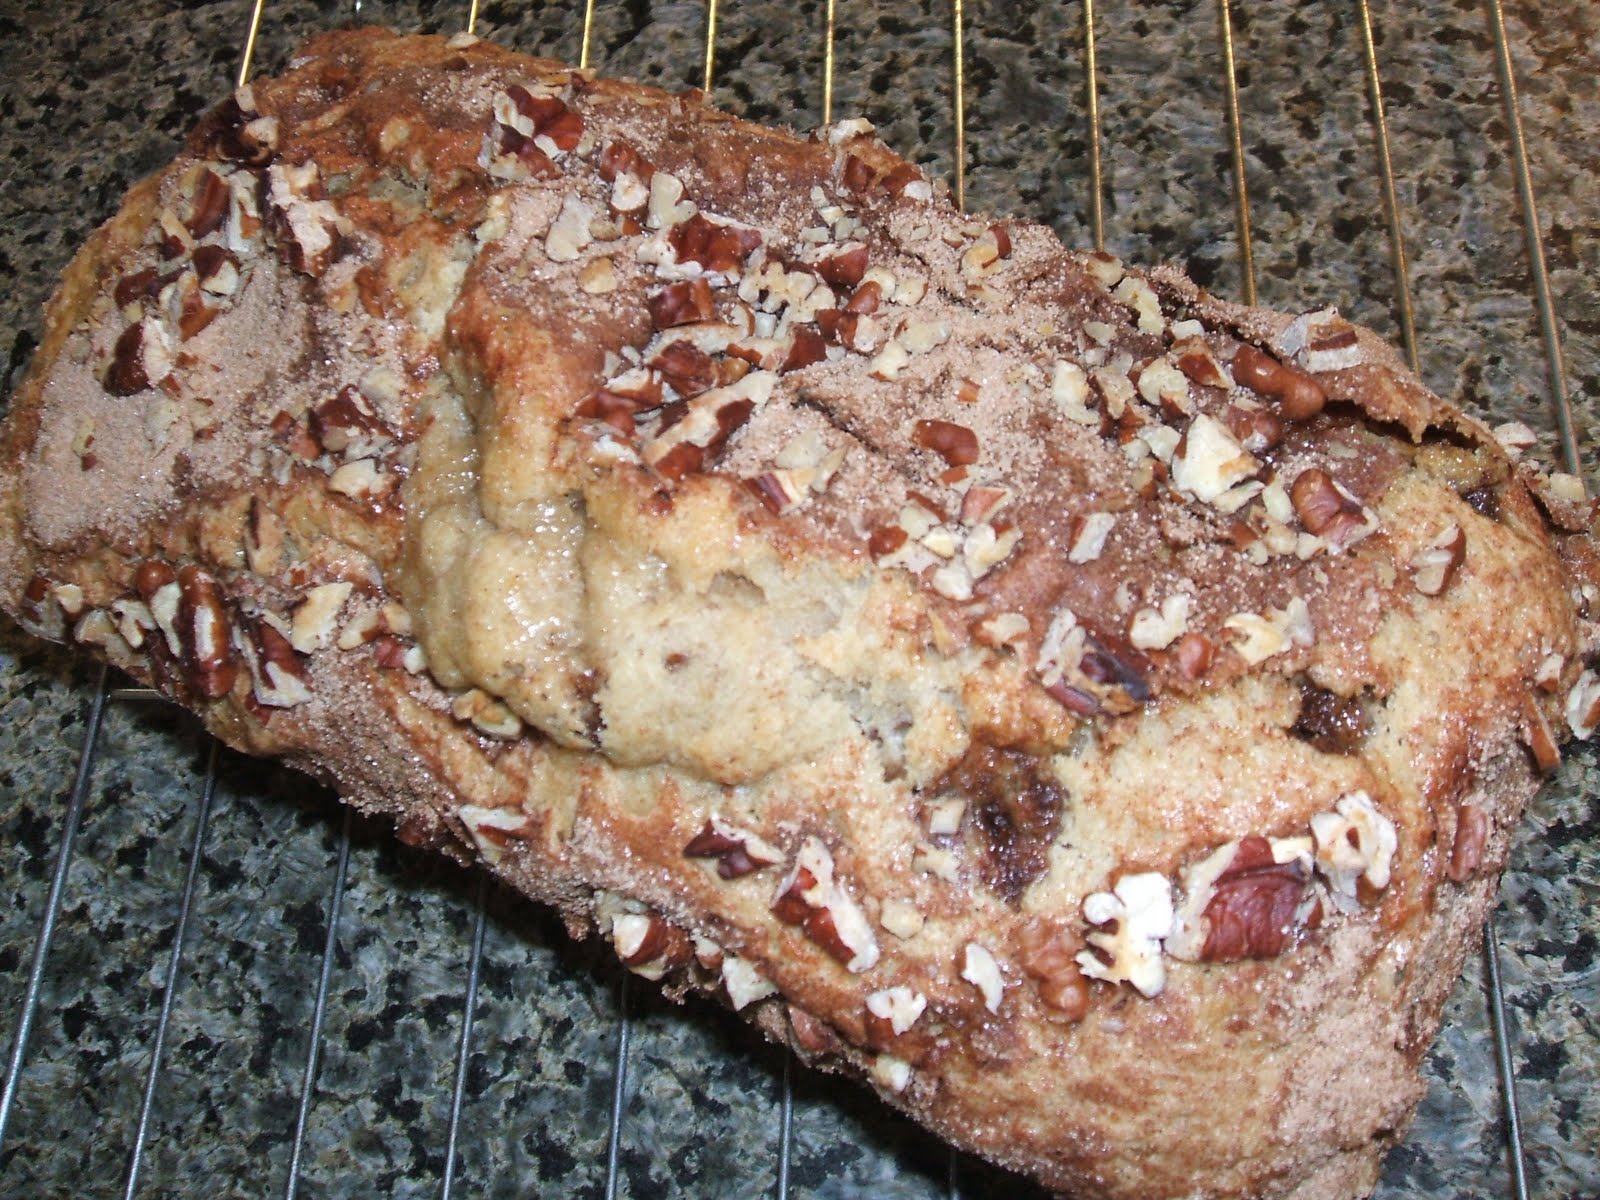
Cinnamon Pecan Bread

Remember how I said I was trying to eat healthier? Um, I swear I am trying! I always find an excuse to make something sweet -- band concerts, bake sales, friends visiting, etc. I even read a dessert cookbook today while I tried to watch The X-Files. I know, I have issues.


Do you also remember when I made this bread? I remade it except this time with added chopped pecans. I also baked it for a bit longer. I think I kept it in the oven for 10 more minutes this time around.


Whoaaa this bread didn't last very long in my apartment. Although I gave quite a bit of it away, I ate way too much of it myself. I highly suggest making this! I will warn you though... this bread is anything but healthy. Not only is it unhealthy and scrumptious, it's also ridiculously easy to make. I suggest if you're on a diet or trying to eat healthy like I am to take a break from it to make this bread and devour it.

I want to take a moment out of ranting and raving about this cinnamon pecan bread to tell everyone to go out and buy Trader Joe's pizza dough. I normally make my own but theirs is so cheap and so yummy! I had pizza for dinner tonight with one of their herbed crusts topped with tomato sauce, spices, nutritional yeast, Daiya pepper-jack, lots of garlic, and green pepper. Yay for lazy weeknight dinners!

Friday, May 20, 2011

Chana Masala w/ Naan

HEY! I apologize for not updating sooner. We've been pretty busy around here with band concerts, work, and a trip to San Francisco (which, by the way, was awesome). Now I am back and ready to show you all some deeeelicious food that I made recently. I was going to make some sort of chickpea curry but it pretty much turned out just like chana masala. The recipe for naan is under this post, so I won't bother posting it again. 


Chana Masala

Serves around 4

Ingredients:
2 15 oz. cans of chickpeas, drained
1 14.5 oz. can of tomatoes in chili, slightly drained
2 yellow onions, chopped
4 cloves garlic, minced
1 small green pepper, chopped
2 tbsp. curry powder
pinch of cinnamon
pinch of nutmeg
pinch of ginger
1 tsp. salt
2 tbsp. water
1 tbsp. lemon juice

Instructions:
- Throw all ingredients into your crock pot, stir, and set to cook for 8 hours. This will allow all flavors to blend together and ultimately leave you with a delicious dinner!


 - Once it's done cooking, serve it up with your homemade naan and impress your dinner guests (or just yourself) with this amazing meal.


I love easy meals... especially when easy meals are as delicious as this one. I also love Indian food. One of these days I am going to try making samosas. They seem like they wouldn't be too hard to make but I guess I am just worried about messing up something that tastes SO GOOD!

I'll end this post with a picture of Michael and I on Alcatraz (with many of his students wandering around aimlessly). Enjoy!

Thursday, March 24, 2011

Pretzel Rolls

I like making pretzel rolls when we're having veggie burgers for dinner and using them as buns. They are good just as plain ol' rolls, though! This recipe makes 8 burger sized rolls, or 12 smaller dinner rolls.

Ingredients:
4 1/2 tsp. yeast
1/4 c. unbleached all-purpose flour
1/4 tsp. sugar
1 tsp. salt
1 c. hot water
----------------
4 1/2 c. unbleached all-purpose flour
1 tsp. salt
3/4 c. hot water
----------------
5 c. water
1/2 c. baking soda
----------------
Toppings of choice

Instructions:
- Activate the yeast using all ingredients in the first section of the ingredients. Whisk all ingredients together until there are no longer lumps of yeast. Let sit until it starts to bubble -- about 5 minutes.

- When the yeast is all ready to go, use your hands and mix in the second part of the ingredients. The measurement on my flour is just a guess since I just started small and kept adding flour as needed. Keep adding flour until it is a dough-like consistency and easy to work with.
- Once dough is smooth and all mixed together, place into a greased bowl and let sit in a warm place until it doubles in size. I put it in a metal bowl and set on the stovetop with the heat setting on simmer. This should take a good 30 or 40 minutes.

- Once dough has risen, punch down and divide into sections of your choosing. Since I wanted to make buns out of these, I made them rather large. Let sit for 10 minutes to rise just a bit more.

- While they are rising, get your water and baking soda ready. Bring 5 cups of water and 1/2 cup baking soda to a boil. Make sure not to use a shallow pot since you will be immersing your rolls in this.
- Preheat your oven to 400 degrees.
- Drop rolls one by one into your baking soda and water mixture. Let rolls sit on EACH side for 30 seconds or so. The longer you let sit, the more pretzel-y these will be.

- Spoon out onto your cookie sheet and slice an "X" into each one. I topped my pretzel rolls with melted Earth Balance and a sprinkle of course salt.
- Pop into the oven and cook for 25 minutes or until browned.

(Even though they take a little while to cook, this is a good time to do your dishes!)

- Once done cooking, place on cooling racks and let sit for a couple minutes before slicing open. These will be hot inside!


I know it looks like a lot of work, but these really aren't that hard to make. They are also mighty delicious! I would like to try adding bits of garlic and jalapeƱo to this next time. If anyone decided to try these out, let me know what you add to it!

In non-food related news, it feels like a cool summer day here in San Diego right now. I love having a day off and being able to sit in my living room with the door and windows open. I can't wait til it's warm enough to go back into the ocean and swim!!

Monday, October 18, 2010

Garlic Breadsticks

I made some marinara a couple of weeks ago and wanted some breadsticks to eat with it. What is better than warm and fresh breadsticks? Nothing, of course, and that's why I decided to go ahead and make some! I used a few different recipes to come up with this one. It made a lot (20), so I think next time I will halve the recipe.

Ingredients:
1 c. + 2 tbsp. water
2 tbsp. oil
3 c. unbleached bread flour
3 tbsp. nutritional yeast
3 tsp. garlic powder
2 tbsp. sugar
1 1/2 tsp. salt
1 tsp. basil
2 tsp. yeast

Instructions:
- I used my bread maker to knead the dough and rise, but you could do this yourself. If you are using a bread maker, just follow the instructions and add in all of the ingredients. If you're doing it yourself, activate the yeast by dissolving a little bit of the sugar in the water (it should be warm). Slowly stir in the yeast, making sure it does not clump. Set aside until it starts to get bubbly, which should be about 10 minutes. Mix together the remaining ingredients along with the yeast, knead until it becomes a smooth dough, and let rise in an oiled bowl, covered, for 90 minutes.
- Once dough has doubled in size, punch it down to release some of the air. Divide dough into 20 balls (they're each about 1.5 inches in diameter) and let sit on a floured surface for a few minutes. While these are resting, preheat oven to 350 degrees.

- Roll out the dough to form 8" ropes. I found it was easier to roll it out in my hands rather than on the counter.
- Place dough ropes on a non-stick baking pan, making sure to leave a little bit of space in between each one.

- Bake for 18-20 minutes or until golden in color.

- Allow breadsticks to cool for a few minutes before you eat or you will burn your mouth (like I did!).

These were very good. I wish I would've added more garlic but luckily I put enough garlic in the marinara to make up for that. They were slightly crispy on the outside and perfectly soft on the inside. They would've tasted even better with a little bit of melted margarine brushed on top but I thought I'd leave it off this time. In any case, these were phenomenal. They tasted like they came right out of a restaurant! The leftovers lasted a few days in a freezer bag, which is good because we had a lot remaining. They also tasted good reheated in the oven for a few minutes! I am excited to make these again and try different spices and seasonings for different tastes :)

Monday, October 4, 2010

Cinnamon Bread

I found this recipe on VegWeb and I just had to try it. I hate raisins, so I am glad I found a recipe for cinnamon bread and not cinnamon-raisin bread! I used that recipe above but added a teaspoon of vanilla and a teaspoon of cinnamon to the actual bread batter. I think next time I might cook it on 325 for longer because it was a little raw in this one spot in the loaf, but other than that it was deeeelicious!

Here are my pictures...

Adding the layers


Right out of the oven

So pretty
Swirly!

I added a layer on top which added a nice crunch to the outside. It was very easy to make so I will probably make it again. Like mentioned above, it was a tad bit raw in some parts but that didn't stop me from eating it. In fact, Michael and I ate little cinnamon sandwiches filled with natural chunky peanut butter. It was SO good! I highly recommend the peanut butter and cinnamon combination :)

Tuesday, September 21, 2010

Pita Bread

Michael and I got some delicious hummus from Trader Joe's and I wanted some pita bread to go along with it. Buying pita bread from the store can get a bit expensive so I wanted to finally try making it myself (hummus is expensive as well but as of right now I am out all of ingredients to make hummus except garlic, ha). I got the recipe from here but used vegan ingredients. I also used my breadmaker to knead the dough and let it rise, which made my job a bit easier. I was able to clean the apartment while the dough was being made! I love that! Here are some pictures of my pita bread...


I ended up using only whole wheat flour, coarse salt, regular white sugar, 2 tsp. yeast, 1 1/4 c. water, and vegetable oil. They turned out the perfect size and they didn't bubble up too much! They tasted just like store bought pita bread and were significantly cheaper to make and tasted wonderful coming right out of the oven. I think they will be easier to make the next time because now I know how big to make the balls of dough and such (a little bit bigger than the palm of your hand). I also think I want to try making small pitas! Oh the possibilities...

Monday, September 20, 2010

Baingan Bharta w/ Homemade Naan

Indian food is definitely some of my favorite food ever. Michael and I go out to eat quite often and generally we end up at an Indian place. I've never tried to make Indian food until now. I chose Baingan Bharta because it's one of my favorite dishes and because we had some fresh eggplant from the Farmer's Market. I also decided to make some naan because, well, what's Indian food without fresh naan?

Naan
makes 12 naan

Ingredients:
2 1/2 tsp. dry active yeast
1 c. warm water
1/4 c. sugar
2 tsp salt
4 1/2 c. all-purpose bread flour
1 egg equivalent (I used 1 tbsp. flaxseed meal + 3 tbsp. water)

Instructions:
- I used my breadmaker to knead the dough and all that. If you're not using a breadmaker for this, activate the yeast using the warm water. Let stand until frothy. Stir in everything else except flour and mix. Incorporate flour into the mix until it becomes a doughy consistency. Knead this on a floured surface until it becomes smooth. Place dough into an oiled bowl and cover with a damp cloth and let it rise an hour or longer (my breadmaker kneads and rises an hour and a half).
- After dough has risen, pick off roughly 2-inch diameter balls and roll them with your palms. Place these balls on a floured surface and cover with a damp cloth for 15 minutes or so. This is just to make the dough easier to roll out.
- Heat a griddle or large skillet (I used a skillet) on medium to medium-high heat. Make sure you spray a bit of oil on the surface.
- As that is heating up, use a rolling pin to flatten the balls of dough into an elongated shape. Since I was using a skillet instead of a griddle, I couldn't make them too elongated or they wouldn't fit into the skillet.
- Cook naan for a few minutes, flip, and cook for a few minutes longer until they turn a golden or brown color.
(these were the first naan I made. These first ones turned out pretty dense. I got better at making them as I went along)

-Place on cooling rack.

Feel free to knead garlic, onions, or whatever else into the dough when you are making the smaller balls. I wanted mine plain so I didn't add anything.


Baingan Bharta

Ingredients:
2 eggplants
1 1/2 medium sized white onions, chopped
3 cloves of garlic, chopped
2 tbsp. curry powder
1 can of diced tomatoes (I didn't have any fresh tomatoes or I would've used those. I used a small can of tomatoes w/ green chilies)
2 tsp. cumin
1 tsp. ginger
1 tsp. salt
water
oil

Instructions:
- Preheat oven to 450 degrees.
- Place eggplants on a cookie sheet and spritz with some oil. Bake these in the oven for 25 minutes or so or until they are slightly blackened and bubbly-looking.
- Place on cooling rack.


- While the eggplants are cooling, heat up a little bit of oil in a pot on medium heat. Once oil is heated, place chopped onions in it and cook until almost see-through. Make sure to stir the onions occasionally.
- While the onions are cooking, peel and chop eggplants. I chopped mine into fairly large pieces. I think next time I will chop them up smaller.
- When onions are just about right, place the chopped eggplants, tomatoes, garlic, and spices in with the onions. Stir and cook covered for about 10 minutes.

- Make sure to check on this every so often. It seemed to dry up after a few minutes so you may want to add a little bit of water to it.
- This should be about done cooking when your entire house (or apartment) smells of baingan bharta. Yum!

- Serve with your freshly made naan and some white or long grain rice!

This meal was amazing! The naan was perfectly cooked and tasted just like the naan I would get in a restaurant. I would've liked the baingan bharta better if I chopped it up into smaller pieces and added peas, but that didn't stop Michael and I from eating it! I will no doubt make this meal again. It was surprisingly easier than I thought! I think what I will do different next time is add peas and chop it up finer. Other than that, I think it was a hit!

Tuesday, July 27, 2010

Chocolate Bread

I made this a while ago but I figured I'd post the recipe because it was delicious! I wanted to make cinnamon-chocolate chip bread but added the chips in too late so it just became chocolate bread. I used this recipe but substituted chocolate chips for the raisins. If anyone wants to try this recipe, don't add the chocolate chips in too early or they will melt, haha. I added them in with about 7 minutes left of the last kneading cycle. Yeah, way too early. They melted through, which still tasted delicious, but didn't give me the end result that I was expecting. Oh well.

Here's a picture of my chocolate bread! Don't mind the lines on the top -- those are from my cooling rack when I dumped the bread out of the bread pan to cool.


This was surprisingly very tasty without too strong of a chocolate flavor. This bread was super soft and amazing by itself or with some natural peanut butter. I think next time I try this I will add the chocolate chips with about 2 minutes of the last kneading cycle and see how that works.


Wednesday, July 21, 2010

Whole Wheat Bread


I must admit, I am a total novice when it comes to bread making. Luckily my dad [hi, dad!] gave me a breadmaker for my birthday last month, which doesn't really require too much effort. It does, however, save me a ton of money on buying bread. I used to buy fresh baked bread from Krieger's but realized an entire bag of flour costs less than one loaf of bread! Michael and I cut a few ingredients out of our diet (high fructose corn syrup, any kind of hydrogenated oils, etc.) so it's hard to find not-so-processed bread without those ingredients but also vegan. I figured the best choice for me would be to get a breadmaker and make my own! So far, every loaf of bread has come out pretty much perfect.

Last night, I made just plain old whole wheat bread. I used this recipe. Normally I modify pretty much every recipe I use, but I used this one exactly how it is. It turned out wonderfully, which was surprising because I hadn't used this recipe before. I guess I chose the right one! For the breadmaker, I chose the whole wheat setting (obviously) with a medium crust. It took 3 hours and 50 minutes to make and was definitely worth it!!

Here I am with my peanut butter and cinnamon sandwich


I would've made a more elaborate sandwich but I was lazy this morning when I was preparing my lunch. I guess that doesn't matter because I still have leftover zucchini pasta :)