
Michael was ready to go!
We took a car to some of the sights and I was able to get a quick photo of the colorful city of Khajuraho.

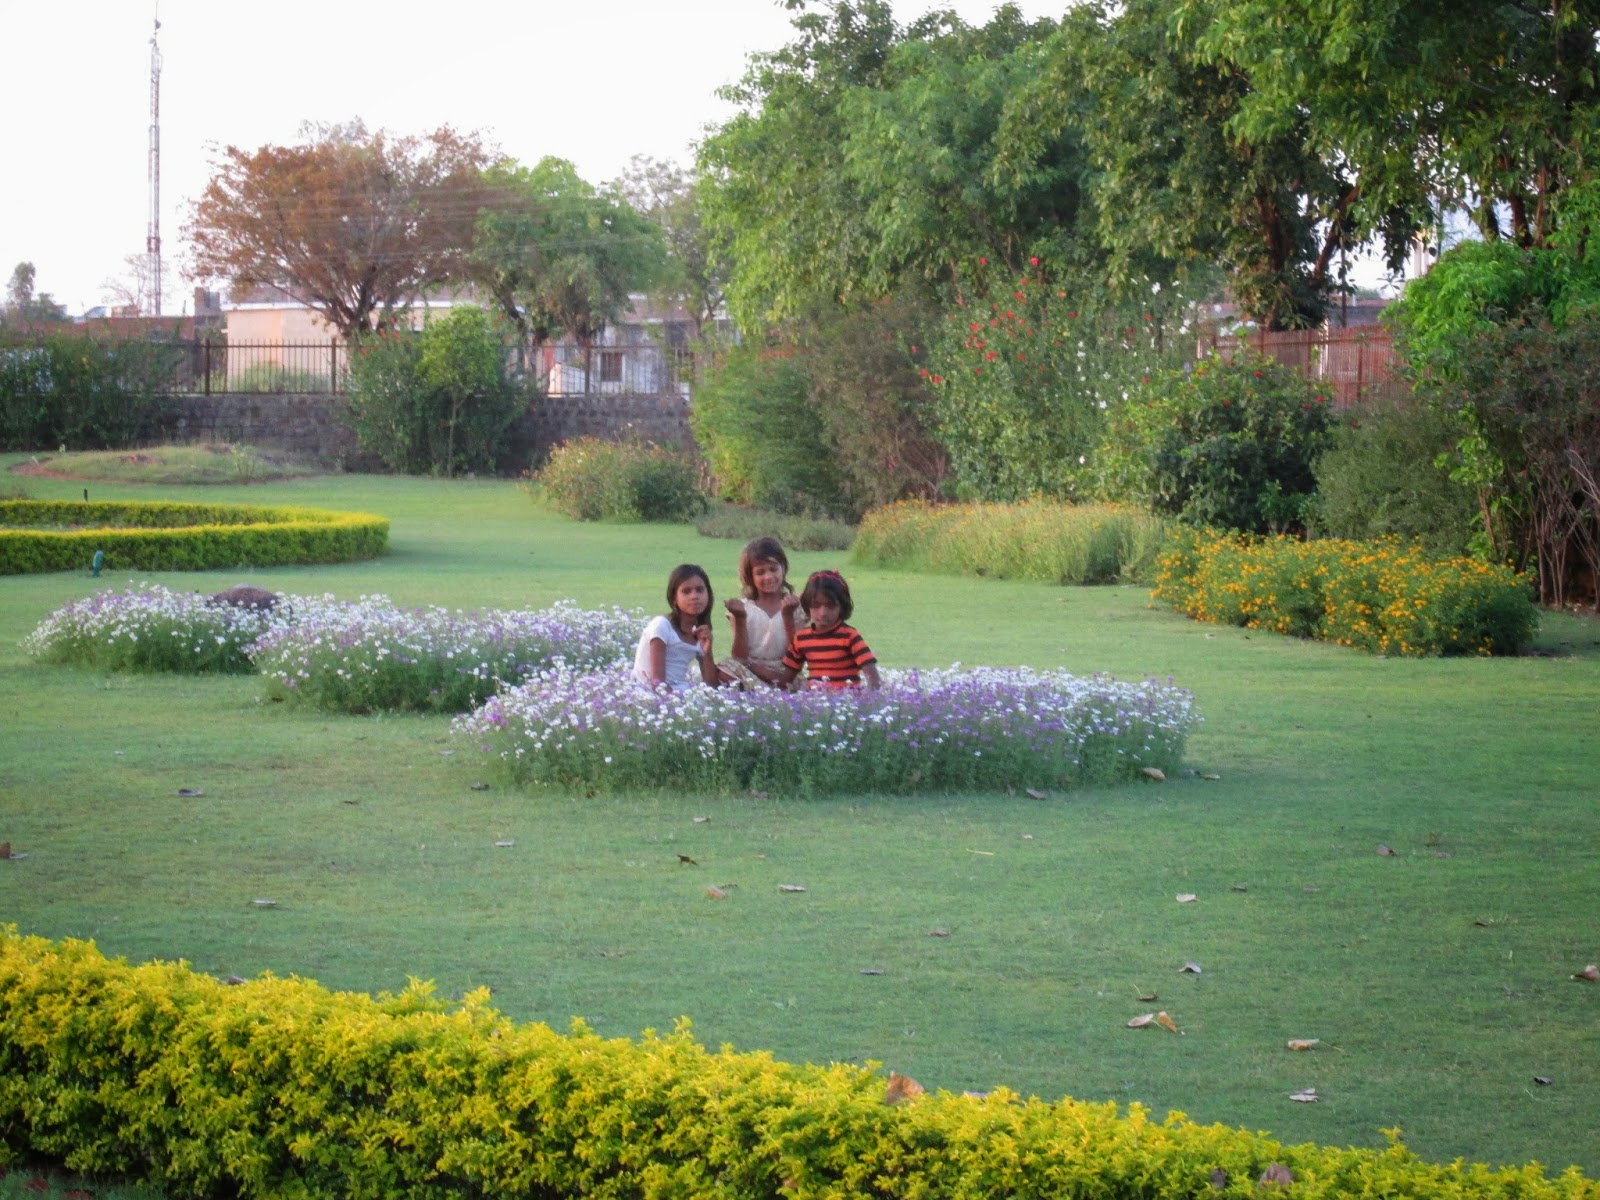
We arrived at the western group of temples, which turns out is protected and cared for by UNESCO and the Indian government. We had no idea we'd be arriving in such a pristine looking place. I'm glad we had a guide, otherwise we wouldn't have had a clue where to go or where to buy tickets.

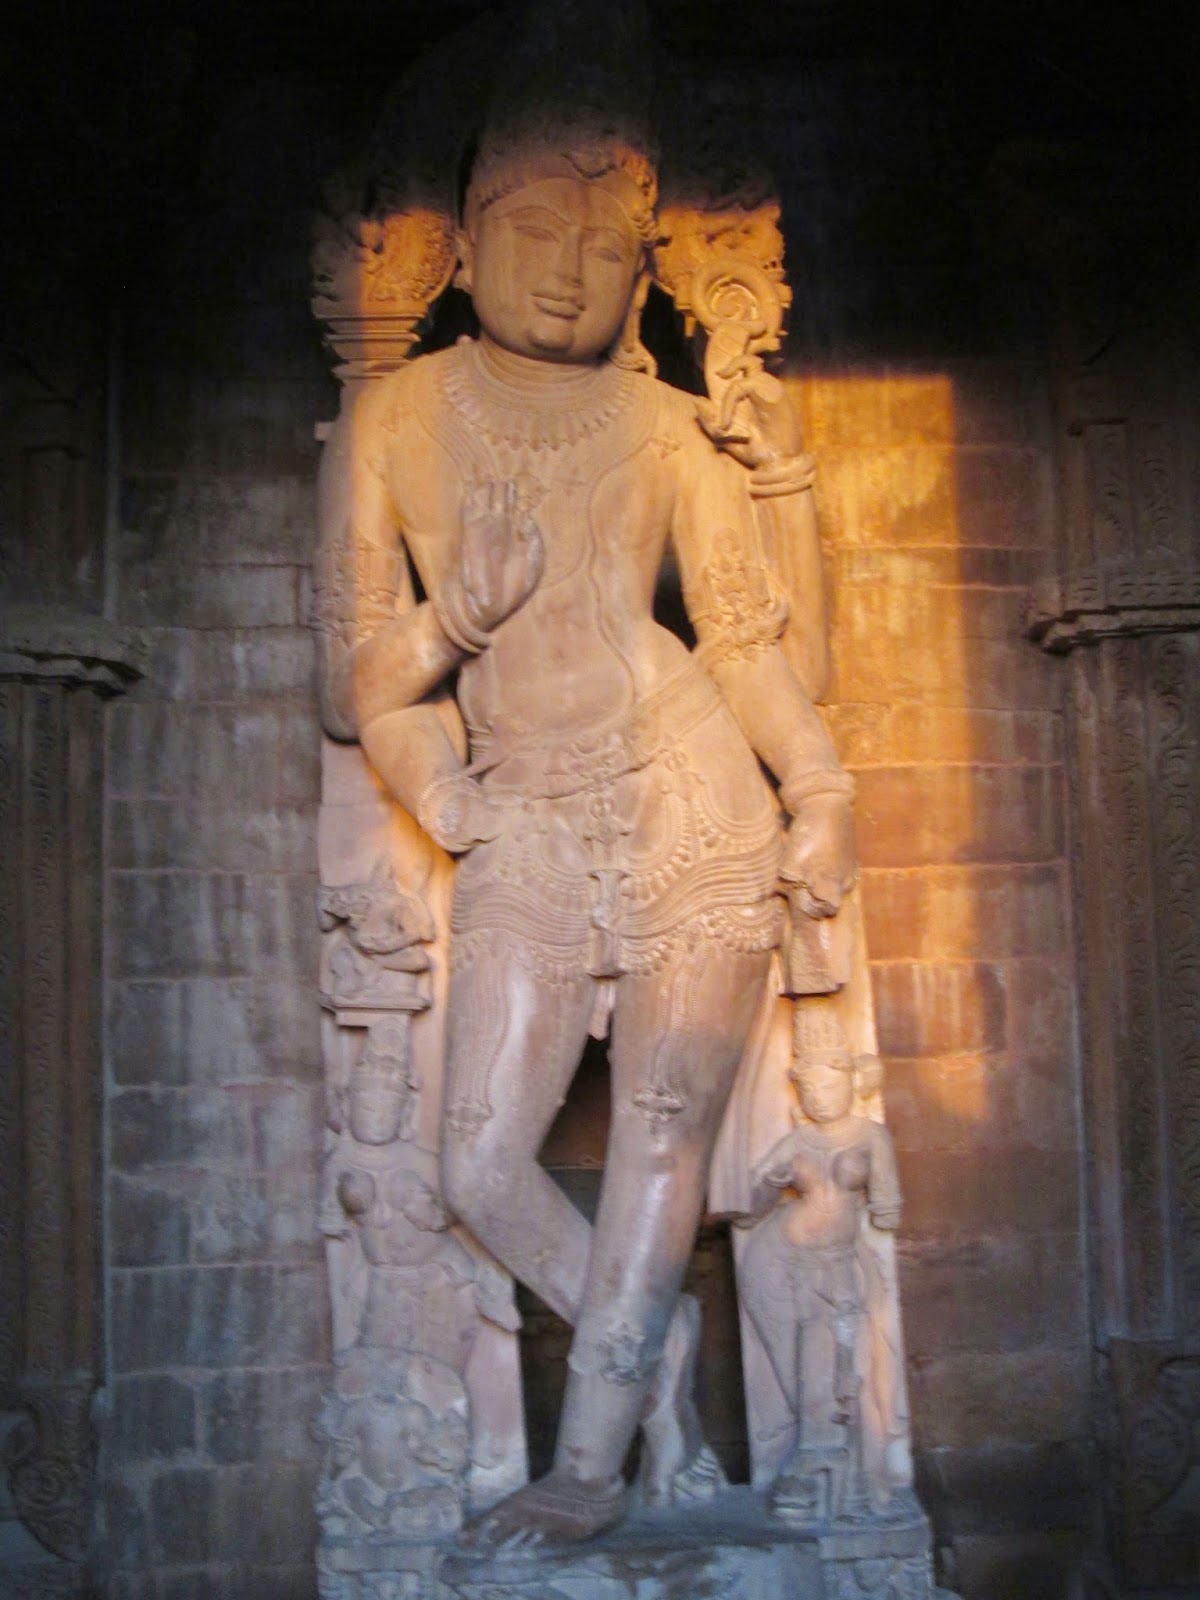
Our guide showed us around some of the more popular temples, pointing to carvings and making comments like "There is loving couple", referring to a man and a woman having 1-on-1 sex. Of course there was also "This is what we call 'self service.'" and "This is a very acrobatic pose.". He was a pretty funny guy. The temples here in the western group are pretty graphic, as you can see in the photos below. Our guide was extremely knowledgeable, pointing out individual carvings and explaining what was going on in each scene.

This next photo is of a carving that our guide couldn't get enough of. He was laughing while telling us the backstory. Out of all the elephants lining the temples, this is the only one with his head turned. Distinguished by the smile lines, you can see that the elephant is laughing at the couple to his left. Turns out the builders and carvers of the temples wanted to spice things up a bit and added humor to some areas, like this.

As old as these temples are, I couldn't believe the details.


Our guide made sure to point out the carvings in this next photo. He said "During war, there were no women. However, they DID have horses..." and then giggled while we snapped some photos.

We couldn't believe the enormity of these temples and the surrounding land. The structure of the temples was interesting, too. The monuments were built of sandstone and used no mortar but rather a locking system. We were told that if you were to take one of the discs off of a pillar that the entire pillar would come crumbling down. Crazy. This western group of temples are protected and maintained which is why they're in such great shape.


We had to take our shoes off every time we stepped into a temple. I always love a chance to take my shoes off.


I don't know what it is with Indian girls but they always seem so enamored with me. This group of girls came up to me, shook my hand, and asked me to take their picture. They each spoke pretty good English, telling me "Nice to meet you!". It was sweet.

We took a drive through Khajuraho then ended up at a local shop that is family owned and operated. Everyone in Khajuraho is extremely kind. They served us Coca Cola, of course, and gave us a tour of their shop. We ended up buying a few small items. One of the gentlemen there said to me, "I don't even care if you buy anything! I just appreciate people looking at the items we make. We are very proud of our work.". We ended up back at the hotel and ate a quick breakfast. Michael had sweet paratha and I had poori masala.

We went back to the teeny tiny airport in Khajuraho and guess who we ran into! THE CHINESE COUPLE! First Agra, then Khajuraho, and it turns out they were headed for Varanasi as well. Too funny! We couldn't believe we were running into them again! Anyway, we ended up catching a flight to Varanasi. I think we ate a snack in the airport but I don't have any photos. When we arrived in Varanasi, we took a car into the city to reach the Ganga. Wow, we were finally seeing Varanasi for the first time. It was exciting but overwhelming. I have never heard so many car horns or seen so many people, animals, shops, and homes crammed into one place. This is one of the oldest inhabited cities in the world so people live in very tight quarters. Varanasi has a VERY distinct smell to it which we noticed immediately -- spice, feces, and urine. The spice smell in the other places we were smelled quite pleasing but this was different. This was Varanasi. I learned to deal with the smell after sometime but the first day was hard. I also couldn't believe the lack of roads! Varanasi, at least by the river, is mainly made up of alleys with a few main roads weaving through them. A man picked us up from our car when we were dropped off and walked us through the alleys to reach the house we were staying in. We couldn't believe how tightly everything was packed. These small alleys lined with shops were filled with people, animals, and motorcycles. Yeah, motorcycles were driving through! There was hardly any room for pedestrians let alone motorcycles. It was so much to take in. I loved seeing all the different vendors. It was also interesting and cute to see the numerous children running some of these shops. We were noticing all of these things and we had only been in Varanasi for a few minutes. We couldn't wait to see more of it. We checked into the house we were staying in and went out to the river. Luckily we stayed in close proximity to the main ghat so it was a short walk.

We found a random restaurant (out of MANY) and got some dosas. We obviously didn't eat the chutney with milk in it. This was GOOD. We ate a lot of fried foods in India.

We went back to the main ghat just in time for the nightly ceremony. It was beautiful. I couldn't believe how many people there were!

This woman had tried over and over to sell us some cheap items she had. We weren't having it but she kept insisting. Eventually I let her draw on my hand and fingernails. She talked to us a little bit -- she said she had children and that her husband was deceased. We also noticed she had been burned by acid on most of her body. She was sweet and we ended up buying a book of Varanasi photos from her.

After the nightly ceremony we went back to the house and relaxed before falling asleep. There were so many noises surrounding us but somehow we were able to fall asleep. Next up, catch us on day 6 in India where we get lost in Varanasi, run into some very nice people, and I have an emotional breakdown.